Title Image

Company Resources

Company Resources

Here we have gathered important company brand guidelines, logos, email templates, photos, and other collateral to aid you in representing Action Gypsum Supply. Please refer to the Branding Guide which allows you to become familiar with the Action Gypsum Supply brand and will inform all of your communication decisions.

Services Takeoff/Estimates Featured Image

Company News

LEARN MORE


Company News. Check here for compnay updates and insider news.


Services Sales Featured Image

Assets

LEARN MORE


Assets. Branding guide, logos, email templates, and other collateral


Services Delivery Featured Image

Photos

LEARN MORE


Photos. Company photos for download.


Company News

Employee News

Sed ut perspiciatis unde omnis iste natus error sit voluptatem accusantium doloremque laudantium, totam rem aperiam, eaque ipsa quae ab illo inventore veritatis et quasi architecto beatae vitae dicta sunt explicabo. Nemo enim ipsam voluptatem quia voluptas sit aspernatur aut odit aut fugit, sed quia...

Read More

Assets

See What Independent Can Do

The purpose of this Branding Guide is to support our marketing and communication goals with an entire suite of resources and tools from photography and writing guidelines to logos, colors, the tagline and more. It has been created to portray a consistent image that will give Action Gypsum Supply a uniform corporate identity, greater visibility and more powerful marketing possibilities. It overviews everything we do as a team and how we portray our company internally and communicate about our company externally. Above all else, it allows you to become familiar with the Action Gypsum Supply brand, which will inform all of your communication decisions, and will be essential for developing authentic, distinctive materials that resonate with our target audience.

Action Gypsum Branding Guide Cover
Color
Action Gypsum Supply Logo Full Color Transparent Background
Download
Black
Action Gypsum Supply Logo Black Transparent Background
Download
White
Action Gypsum Supply Logo White on Blue
Download
Our Logo

The preferred Action Gypsum Supply logo is the full color version combining the Action Gypsum Supply colors specified in the following pages. Different media and printing specifications require different interpretations of the logo type colors.

Minimum Logo Size

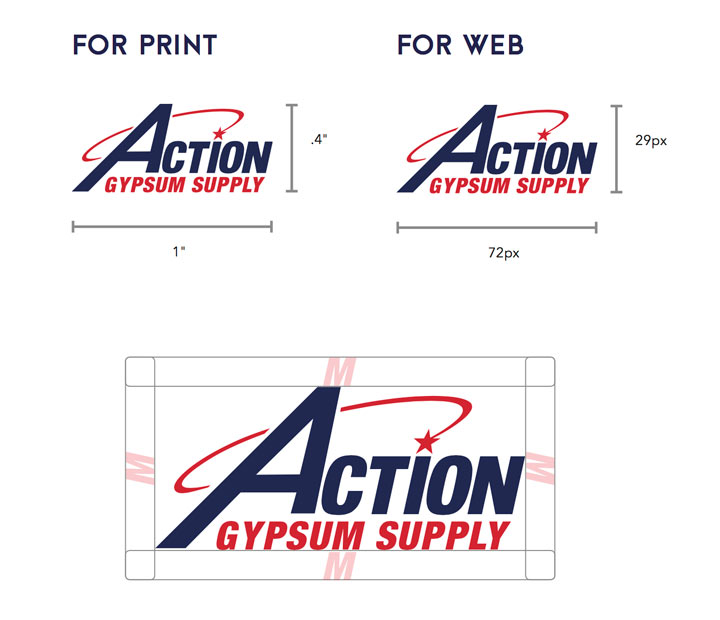
In some instances, the Action Gypsum Supply logo may need to be reduced to t within a small space. To ensure proper legibility of the logo, please adhere to the minimum size requirements to the right. To ensure the best possible reproduction quality and legibility, the logo should not be reduced smaller than the sizes shown to the right without special permission.

Clear Space

To ensure legibility and recognition, and to prevent any obstruction of the logo mark, a protected area is preserved around the logo. This clearance area should be no less than the total height of the letter ‘M’ star as indicated to the right.

* For Application and Logo Restrictions please consult the Action Gypsum Supply Branding Guide.

Action Gypsum Logo Restrictions
Color
Action Gypsum Supply Logo with Tagline Full Color
Download
Black
Action Gypsum Supply Logo with Tagline Black
Download
White
Action Gypsum Supply Logo White on Blue with Tagline
Download
White
Action Gypsum Supply Touchdown Graphic White with Blue Background
Download
Black
Action Gypsum Supply Touchdown Graphic Black
Download
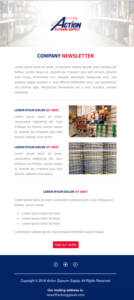
AGS Newsletter
Company Newsletter Email Template
Mailchimp Options
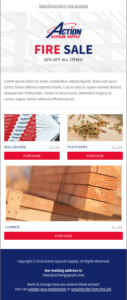
AGS Sale
Fire Sale Email Template
Mailchimp Options
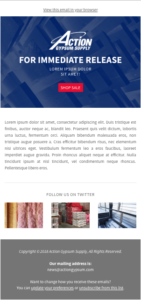
AGS PR
Press Release Email Template
Mailchimp Options
How To Use Email Templates

With our customizable templates, there’s no need to start your email from scratch. Choose a layout that fits the message you want to get across, then use Mailchimp’s design tools to create eye-catching emails that look great on any device.

Before you start you will need to email news@actiongypsum.com to request your Mailchimp login information. Once received, you can create and send your AGS email campaign. Following are steps to create your campaign. and how to edit/customize your campaign content.

How To Create Your Campaign
  1. Click on the ‘Create Campaign’ button.
  2. Untitled – Click on ‘Edit name’ and enter the name of your campaign (This is usually the subject of your email).
  3. To – Click on ‘Add Recipients’ to select a list and/or segment.
  4. From – Click on ‘Add From’ to enter who is sending this email.
  5. Subject – Click on ‘Add Subject’ to enter the subject of this email.
  6. Content – Click on ‘Edit Design’ to customize your campaign with your content (See Customizing Your Campaign Content)
  7. During this process, you can always click on ‘Finish Later’ to save and return later. Once saved, you will be able to find your saved campaign under Campaigns in Mailchimp.
  8. Once your done you can either ‘Schedule’ to send later or ‘Send’ to send it immediately.
Customizing Your Campaign Content

After you choose a template, you’ll move on to the Design step of the Content section. Use content blocks to add and format text, upload images, link to files, and more. All templates show placeholder text and images to help you begin to design your campaign. Depending on the template you choose, you can add, delete, move, and replicate content blocks to create the look and feel you want.


Drag-and-Drop Content Blocks

Our drag-and-drop editor allows you to duplicate, delete, and rearrange content blocks on the fly. Drag and drop a variety of content blocks into your layout and rearrange them to customize the look and feel of your campaign.


Add Text

The best way to add text to your campaign is to type it directly into the content block editing pane. If you prefer to work outside of the Campaign Builder, copy and paste your content from a simple text editor, like Notepad or TextWrangler.


Avoid rich-text word-processing programs, like Word or Publisher. They add styling code to the text that can prevent your ability to style content in the Campaign Builder. If you want to copy content from a rich-text editor, website, or email program, click the Paste as plain text icon on the editor toolbar to add your text.


If content has already been added to your campaign and you didn’t use the Paste as plain text option, or if content doesn’t update when you apply styling to your text, click Clear Styles and try again.


Saving Edits

Once your done editing, click on the ‘Save and Close’ button in the lower left-hand corner of the browser. This will return you to the Campaign Editing screen where you can either send your campaign, schedule it, or save it for later.


Clear Styles

Use the Clear styles option to remove any conflicting formatting or styles that were brought in when you added content. This only removes the formatting that’s been applied to your text and does not remove the text itself.


To clear styles from your content, follow these steps.

  1. Click the Text content block you want to edit.
  2. In the Content tab, highlight the text you want to change.
  3. In the editor toolbar, click Clear Styles.
 

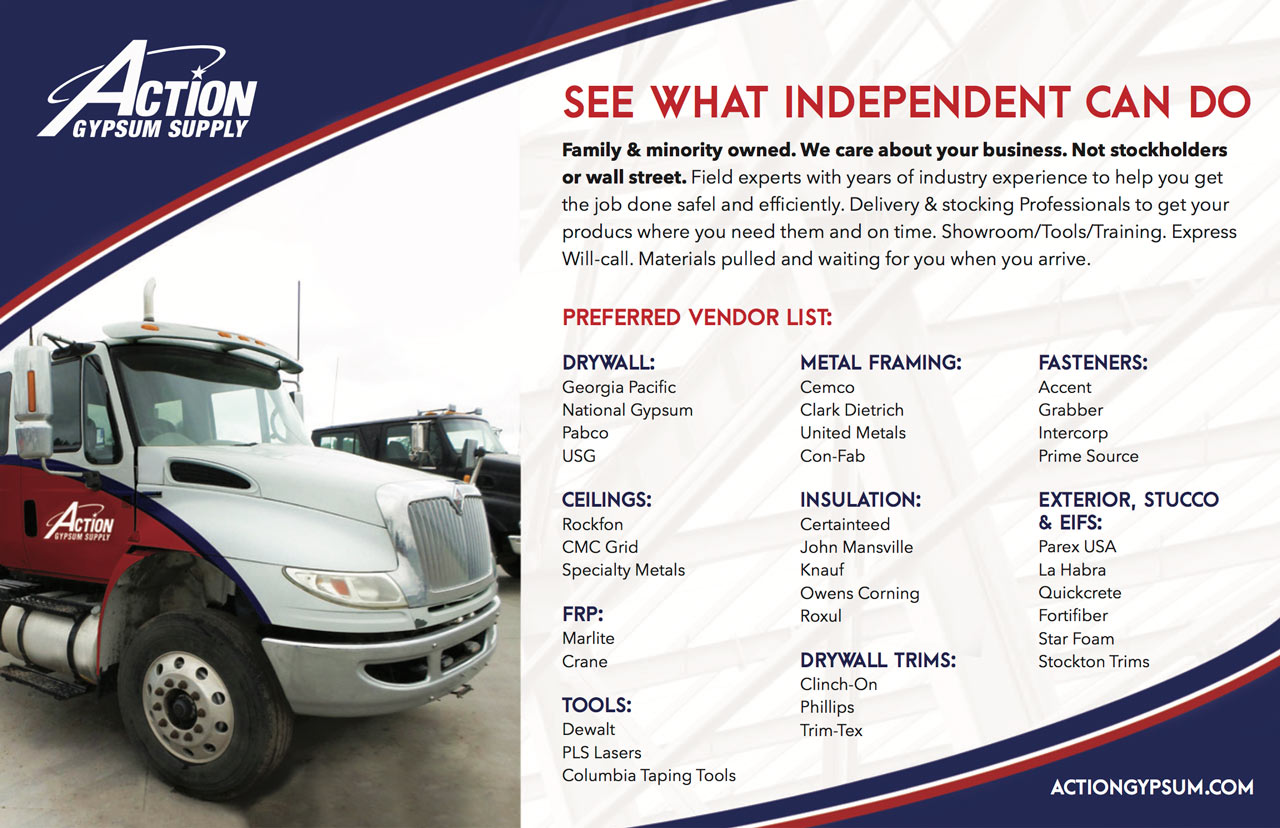
Leave Behind Brochure

Family & minority owned. We care about your business. Not stockholders or wall street. Field experts with years of industry experience to help you get the job done safely and efficiently. Delivery & stocking Professionals to get your products where you need them and on time. Showroom/Tools/Training. Express Will-call. Materials pulled and waiting for you when you arrive.

Vendor List Leave Behind
Forms

Directions: Please select the link for the form you need. To view and print forms you will need the free Adobe Acrobat® Reader which you can download here